
How To Budget Thrift Flip Makeovers
📖 Table of Contents
I remember the first time I walked into a thrift store, eyes wide and heart racing, thinking I'd found the perfect treasure. That old wooden chair with a cracked finish and a few missing screws looked like it had been abandoned by time itself — but to me, it was a golden opportunity. What I didn’t realize then was that flipping thrift finds required more than just a hammer and a can of paint. It required a budget, a plan, and a willingness to get messy and get creative.[1]
Thrift flipping is a world of endless possibilities, but it can quickly spiral out of control if you don’t plan carefully. I’ve spent countless hours in stores, on online marketplaces, and in my own garage, learning what works and what doesn’t. One of the biggest lessons I’ve learned? A well-thought-out budget is the foundation of any successful thrift flip. Without it, you could end up with a project that’s beautiful but far too expensive, or worse, unfinished and frustrating.
This article is for anyone who’s ever stood in front of a thrift store bin, heart pounding with possibility, unsure of where to begin. Whether you're a beginner or a seasoned DIYer, the tips and tricks I've gathered over the years will help you budget your next thrift flip makeover like a pro. And trust me, once you see the transformation of a once-forgotten item into something new and useful, it’s all worth it.
Why You'll Love This Budgeting Approach
- You’ll know exactly how much you can spend before you even start.
- You’ll avoid overspending on materials or labor.
- You’ll be able to track your progress and stay on course.
- You’ll have more time to focus on the creative parts of your project.
Start with a Clear Vision and a Realistic Budget
As of September 2026, a clear vision is the starting point of any successful thrift flip. I always begin by thinking about the purpose of the item — is it a functional piece like a table or chair, or a decorative item like a lamp or mirror? Once I know the purpose, I can set a budget that reflects its value. For example, if I’m planning to turn an old wooden dresser into a vanity, I’ll set my budget higher than I would for a simple shelf.
I’ve found that setting a realistic budget helps me avoid the trap of buying expensive materials that I don’t actually need. I always aim for a budget that’s 15-20% higher than the estimated cost of the project. This extra room allows for unexpected costs, like a new hinge or a piece of hardware that doesn’t fit quite right.
To help me stay on track, I use a simple spreadsheet to track all my expenses. I list the materials I need, their estimated costs, and where I’ll buy them. This gives me a clear picture of where my money is going and helps me make smarter decisions as I go along.
Always write down what you need, even if it’s a small item like a screw. This helps you avoid buying duplicates or missing crucial pieces.
Part of our Budget thrift flip makeovers guide.
Assess the Item’s Condition Before You Buy
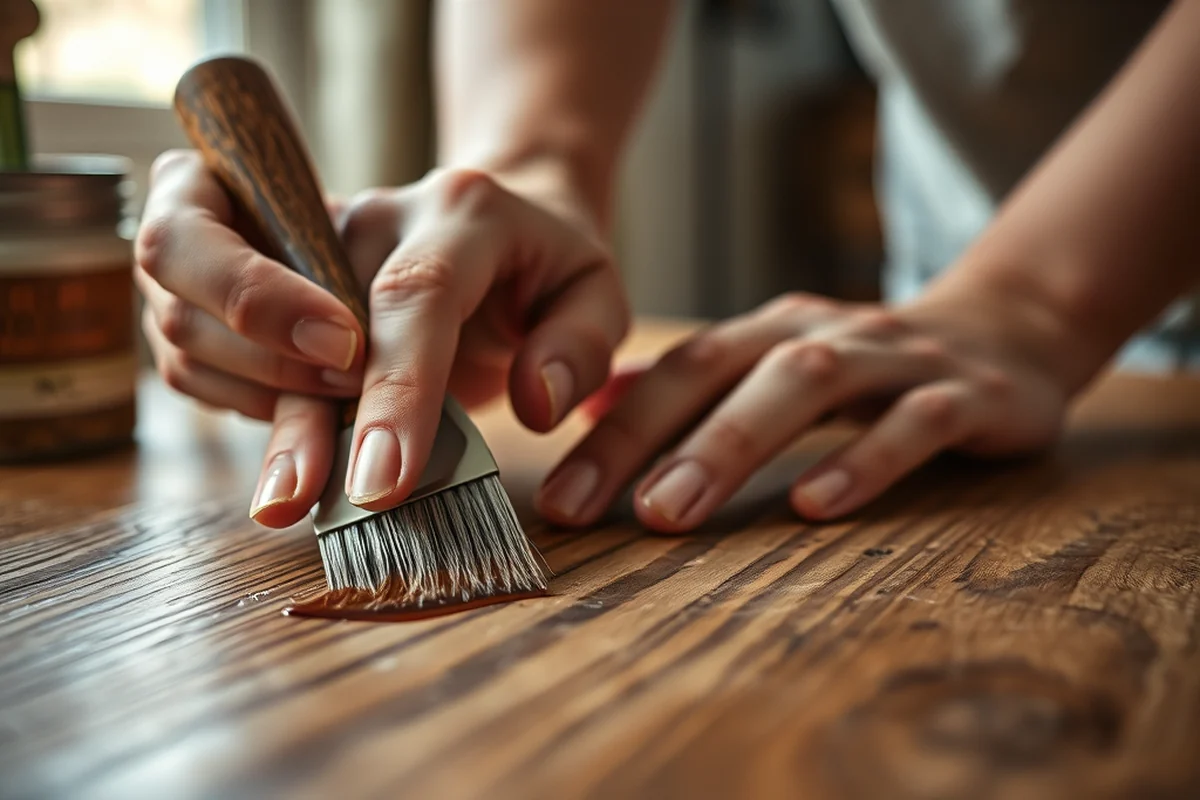
One of the biggest mistakes I made early on was buying an item that looked perfect but was actually in terrible condition. I once bought a vintage mirror that looked clean and beautiful from the outside, only to find out that the glass was cracked and the frame was rotted from years of moisture. The cost of replacing the glass and repairing the frame was far more than I had budgeted.
Now, I always take the time to inspect items carefully before buying. I look for signs of rot, mold, or structural damage. I also check the hardware — if the hinges or drawers are broken, that could be a major expense to fix later. If I can’t see the whole item clearly, I ask the store employee for help or take photos to review later.
I’ve learned that some items may look like they need a lot of work, but they might be worth the investment. It’s all about weighing the cost of repairs against the final value of the project. A little extra work now can save you a lot of money later.
Don’t be fooled by appearances — always inspect the item’s condition before buying.
Related: Cheap flip flops
Plan for Hidden Costs and Contingencies
I once spent an entire day painting a thrifted armoire only to find out that the wood was warped from years of humidity. I had to replace the entire back panel, which wasn’t on my original budget. That’s why I always set aside 10-15% of my project budget for contingencies. That way, I can handle unexpected fixes without breaking the bank.
Other hidden costs could include things like sanding, priming, or even replacing old paint with new, which can be more expensive than I expected. I’ve also had to buy additional tools or materials like a new drill bit or a more durable paint if the first one didn’t work.
One of the best ways to avoid unexpected costs is to plan ahead. If I know I’ll be working with a piece of wood that might need some reinforcement, I’ll buy the necessary screws or brackets before I start. Taking a few extra minutes to think through possible issues can save you a lot of time and money later.
Always budget for 10-15% of your project cost as a contingency fund. This helps you handle unexpected expenses like repairs, materials, or tools.[2]
“I remember the first time I walked into a thrift store, eyes wide and heart racing, thinking I'd found the perfect treasure.”— CurbFound editors
Related: Mommy makeover cost
Use Thrifted Materials and Reuse What You Can
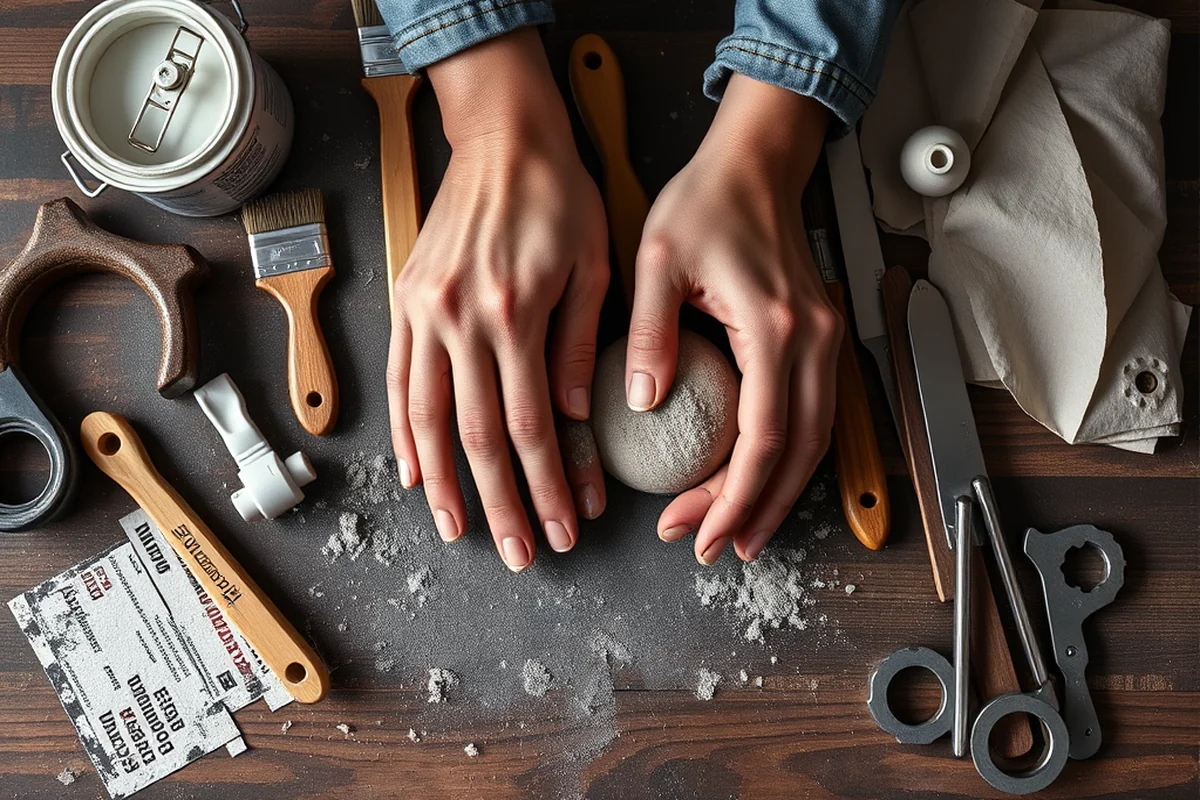
I’ve saved hundreds of dollars by sourcing materials from thrift stores, garage sales, and online marketplaces. I once found a complete set of vintage drawer pulls for just $5, and they were the perfect fit for my project. I’ve also reused materials from previous projects — like old paint or leftover wood — which saved me both time and money.
Another tip is to look for free or low-cost materials in your own home. For example, I had a piece of old fabric I was going to throw away, but it turned out to be perfect for repurposing into a seat cushion cover. Sometimes the most valuable materials are already in your possession.
I also make a habit of checking out online marketplaces like Facebook Marketplace or eBay. Many people sell gently used tools, paint, or hardware at a fraction of the cost of buying new. I’ve found a lot of great deals this way, and it’s been a huge help for my budget.
Related: Quick budget thrift flip makeovers
Track Your Spending and Stay Within Your Limits
I’ve found that the best way to stay within my budget is to track every single expense. I use a simple spreadsheet or app to log everything I buy — from paint to tools to hardware. This helps me see where my money is going and how much I’ve spent so far.
I also compare prices before making a purchase. If I need a new screwdriver, I’ll check multiple stores to see where I can get the best deal. Sometimes waiting a few days for a sale can save me a few dollars, and that adds up over time.
One of the most helpful habits I’ve developed is setting a daily spending limit. I’ll only spend a certain amount each day on materials, and if I go over, I’ll adjust my next day’s spending to stay on track. This keeps me from overspending and helps me stay within my overall budget.
💰 Budget Build
A cost-effective version that focuses on minimal tools and materials, perfect for first-time flipper.
⏰ Weekend Version
A quick project that can be completed in one or two days, ideal for those with a tight schedule.
✨ Upgraded Finish
A version with premium materials and detailed finishing techniques for a higher-end look.
🛋️ Small-Space Adaptation
Tailored for smaller living spaces, with compact and multi-functional designs.
🏠 Rental-Safe Option
A project that uses removable or temporary materials, perfect for renters who can’t make permanent changes.
| The mistake | Why it happens | The fix |
|---|---|---|
| Not inspecting the item’s condition before buying. | This can lead to unexpected repair costs that weren’t in your original budget. | Always inspect the item thoroughly before purchasing and take photos if you're unsure about its condition. |
| Not setting aside a contingency fund. | This can cause you to go over budget if unexpected repairs or purchases come up. | Set aside 10-15% of your project budget for unforeseen costs to ensure you’re prepared. |
| Ignoring hidden costs like sanding, priming, or hardware repairs. | These costs can add up quickly and are often overlooked during the planning phase. | Account for these costs in your original budget or set aside funds to handle them later. |
Related: Thrift flip makeovers budget on a budget
How To Budget Thrift Flip Makeovers
Related: Diy budget thrift flip makeovers
Common Questions
How can I estimate the cost of my project before starting?
What should I do if I go over my budget?
How do I find affordable materials for my project?
Is it possible to complete a thrift flip project on a very tight budget?
References
Cite this guide
CurbFound (2026). How To Budget Thrift Flip Makeovers. https://curbfound.com/how-to-budget-thrift-flip-makeovers/
Feel free to cite or share this guide.