
Budget Thrift Flip Makeovers Tools Supplies
📖 Table of Contents
- The Top 3 Essential Tools for Every Thrift Flip Makeover
- Paint and Stains: How to Choose the Right Materials
- The Hidden Heroes of a Thrift Flip: Hardware and Finishing Touches
- The Importance of Planning Before You Start
- How to Store and Organize Your Tools and Supplies
- Make It Your Way
- Frequently Asked Questions
The first time I walked into a thrift store with a small budget and a pile of tools I’d collected over the years, I didn’t expect to find a mid-century armchair waiting to be reborn. But there it was — faded, slightly dented, and priced at just $15. It took me less than a weekend to transform it into a statement piece for my living room, and I couldn’t have done it without the right tools and supplies. That’s when I realized how crucial it is to know exactly what you need for a budget thrift flip makeover — the tools, the materials, the little tricks that can make or break a project.[1]
Over the years, I've experimented with everything from upcycling old dressers to giving secondhand kitchen cabinets a fresh coat of paint. Each project taught me something new, and one thing became clear: success isn’t about having the most expensive tools or the fanciest supplies. It’s about knowing what works, what’s worth the investment, and what you can do with minimal resources. Whether you’re just starting out or you’re a seasoned DIYer looking to cut costs, the right tools and supplies can make a world of difference in your results and your confidence.
In this article, I’ll walk you through exactly what you need to pull off a budget thrift flip makeover — the tools, the materials. The little hacks that will help you get the most out of your project. You’ll find real, tested advice based on my own experiences and those of other DIYers who have tackled similar projects on a tight budget. Let’s explore how you can create something beautiful, functional, and uniquely yours without breaking the bank.
Why You'll Love This Budget Thrift Flip Makeover
- You’ll achieve professional-looking results with minimal investment.
- Simple tools and supplies are enough to breathe new life into old furniture.
- You’ll save money while reducing waste by giving secondhand items a new purpose.
- It’s a satisfying, creative project that you can complete in just a few hours.
The Top 3 Essential Tools for Every Thrift Flip Makeover
As of August 2026, a basic sanding block is the first tool every DIYer should have. It’s perfect for smoothing out rough wood and removing old paint. I’ve used mine on everything from chairs to cabinets, and it’s made a huge difference in the final finish. For $12 at my local hardware store, it’s a small investment that delivers big results.[2]
Next up is a small brush set — I recommend a set that includes both fine and coarse bristles. They’re essential for applying paint evenly and reaching into tight corners. I’ve found that using a fine brush for the initial coat and a coarse one for the second coat gives the best coverage and finish.
Finally, a good pair of pliers and a screwdriver are invaluable for disassembling and reassembling furniture. I’ve used them on everything from removing old screws to tightening loose joints. It’s amazing how much you can do with just these three tools.
Choose a sanding block with a coarse grit for stripping old paint and a finer grit for smoothing the wood afterward. I always keep a 120-grit block for stripping and a 220-grit one for smoothing.
Part of our Thrift flip makeovers tools supplies guide.
Paint and Stains: How to Choose the Right Materials
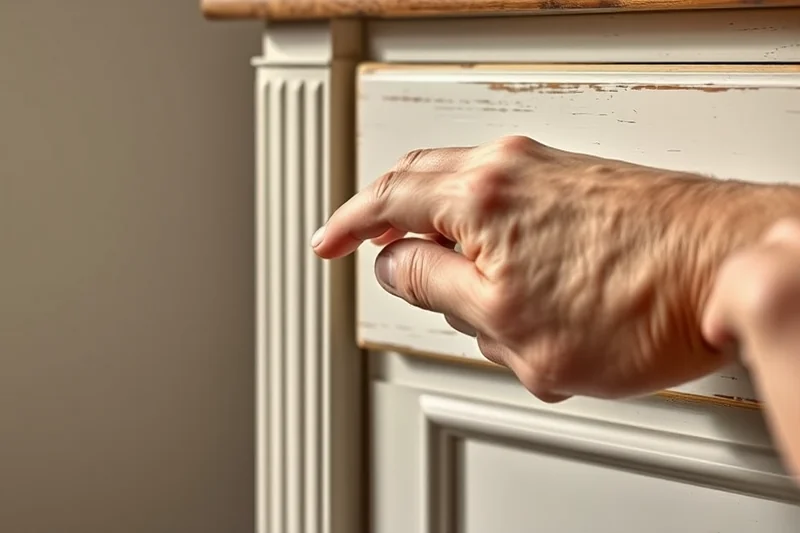
I always recommend using a water-based paint for thrift flips because it’s easy to apply and clean up. I’ve used a brand called Sherwin-Williams for most of my projects, and I’ve found that their water-based paints are durable and easy to work with. A gallon of paint typically costs around $20, which is a small investment for a big impact.
For stained wood, I use a gel stain because it’s less messy and easier to control than liquid stain. I’ve found that gel stain is perfect for giving a piece a rich, natural look without the hassle of dealing with runs or drips. It’s also easier to apply with a brush or even your fingers if you’re working on a small area.
Don’t forget to buy some wood filler if you’re working with furniture that has deep scratches or dents. It’s a small step that can make a huge difference in the final appearance. I’ve used it on a few projects, and it’s been worth every penny.
The right paint and stain can transform a piece of furniture from tired to fabulous in just a few hours.
Related: Thrift flip makeovers tools supplies examples
Related: Quick thrift flip makeovers tools
Related: Thrift flip makeovers tools printable
Related: Thrift flip makeovers tools supplies guide
Related: Budget thrift flip makeovers supplies
Related: Thrift flip makeovers tools supplies for beginners
Related: Best thrift flip makeovers supplies
Related: Thrift flip makeovers tools supplies that actually work
Related: Thrift flip makeovers tools step by step
Related: Easy thrift flip makeovers supplies
The Hidden Heroes of a Thrift Flip: Hardware and Finishing Touches
I always update the hardware on any furniture I’m flipping — it’s a simple change that can completely transform the look of a piece. I’ve used drawer pulls, knobs, and even small decorative screws to give my furniture a more modern feel. The cost of new hardware is usually minimal, but the impact is huge.
Don’t forget about the finishing touches like felt pads, casters, or even a new cushion. These small additions can make a piece more functional and comfortable. I’ve used felt pads on my coffee table to protect the floor and add a touch of elegance.
Finally, a small set of clamps can be a real lifesaver when you’re working with wood or assembling pieces. I’ve used clamps on several projects, and they’ve made the process much smoother and more efficient.
Look for hardware that matches the style of your home. I’ve found that simple, modern pulls in a neutral color like black or brass can make a huge difference in the overall look of a piece.
“The first time I walked into a thrift store with a small budget and a pile of tools I’d collected over the years, I didn’t…”— CurbFound editors
Related: How to thrift flip makeovers supplies
Related: Thrift flip makeovers tools supplies step by step
Related: Simple thrift flip makeovers tools
Related: Thrift flip makeovers supplies checklist
Related: Thrift flip makeovers tools supplies on a budget
Related: Thrift flip makeovers tools supplies mistakes to avoid
The Importance of Planning Before You Start
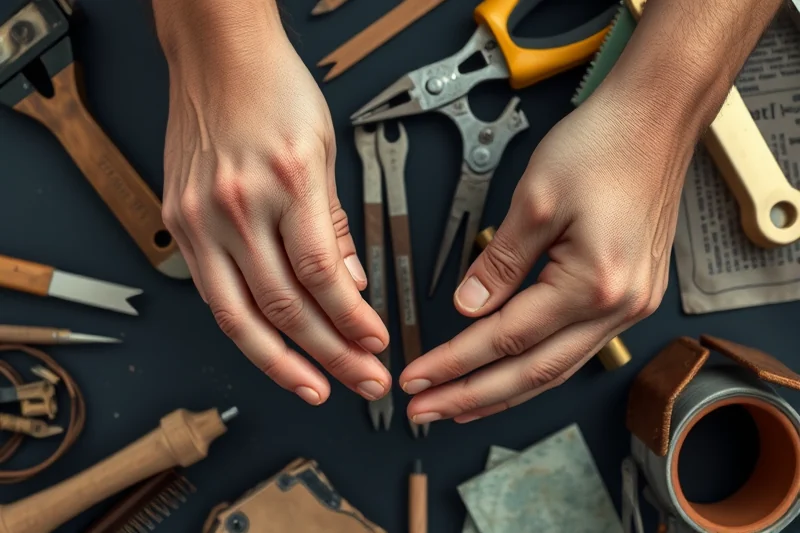
Before you start your project, it’s important to take a close look at the furniture you’ve found. Are there any structural issues? Is the wood in good condition? I’ve learned the hard way that skipping this step can lead to problems later on. A quick inspection can help you avoid costly mistakes.
Next, sketch out a rough plan for your project. What are you going to do with the furniture? Will you paint it, stain it, or give it a new finish? I’ve found that sketching out a plan helps me stay on track and avoid getting lost in the process.
Finally, make a list of all the materials and tools you’ll need before you start. This helps me stay organized and ensures I don’t forget anything important. I’ve saved myself a lot of time by taking this step, and I highly recommend it.
Related: Thrift flip makeovers tools for small spaces
Related: Thrift flip makeovers tools on a budget
Related: Thrift flip makeovers supplies tips
Related: Best thrift flip makeovers tools supplies
Related: How to thrift flip makeovers tools supplies
How to Store and Organize Your Tools and Supplies
I like to keep my tools in a small toolbox that I can carry with me wherever I go. It’s perfect for small projects and makes it easy to find the tools I need when I’m working. I’ve found that keeping your tools organized helps you work more efficiently and avoid the frustration of searching for something.
For my supplies, I keep everything in labeled containers or ziplock bags. This helps me stay organized and makes it easy to find what I need when I’m working. I’ve found that labeling your supplies is especially helpful if you’re working on multiple projects at the same time.
Finally, I like to keep my most-used tools and supplies in a visible place so I don’t have to hunt for them. I’ve found that this little habit has made a big difference in how quickly I can get started on a project.
💰 Budget Build
Use only the most basic tools and materials to give your thrifted furniture a fresh new look.
⏰ Weekend Version
Complete a full thrift flip makeover in just one weekend with minimal tools and time.
✨ Upgraded Finish
Add a custom finish to your furniture with a few extra materials and techniques.
🛋️ Small-Space Adaptation
Tailor your project to fit in a small space with compact tools and minimal materials.
🛡️ Rental-Safe Option
Use non-permanent materials to protect your rental property while giving your furniture a new look.
| The mistake | Why it happens | The fix |
|---|---|---|
| Skipping the planning stage | Not planning can lead to wasted time and money if you don’t have the right tools or materials. | Take a few minutes to plan your project and make a list of everything you’ll need before you start. |
| Using the wrong paint or stain | Using the wrong type of paint or stain can lead to a poor finish that doesn’t last. | Choose the right paint or stain for your project — water-based paint is a great option for most thrift flips. |
| Not preparing the furniture properly | Failing to prepare the furniture can lead to a poor finish and even damage to the piece. | Take the time to sand and clean the furniture before you start your project to ensure the best results. |
| Using the wrong tools | Using the wrong tools can make the process more difficult and lead to unsatisfactory results. | Use the right tools for the job — a sanding block, brush set, and screwdriver are the essentials for most thrift flip projects. |
Related: Diy thrift flip makeovers tools
Related: Thrift flip makeovers tools supplies printable
Related: Thrift flip makeovers tools mistakes to avoid
Related: Budget thrift flip makeovers tools
Budget Thrift Flip Makeovers Tools Supplies
Related: Thrift flip makeovers tools ideas
Related: Easy thrift flip makeovers tools supplies
Related: Easy thrift flip makeovers tools
Related: Quick thrift flip makeovers tools supplies
Common Questions
What is the best type of paint to use for a thrift flip?
How do I choose the right tools for my project?
What should I do if I find a piece of furniture with damage?
Can I do a thrift flip project on a tight budget?
References
- Reproductions supplied by EDRS are the best that can be ... - ERIC (files.eric.ed.gov)
- PROGRAM IDEAS from PAST YEARS - IN.gov (in.gov)
Cite this guide
CurbFound (2026). Budget Thrift Flip Makeovers Tools Supplies. https://curbfound.com/budget-thrift-flip-makeovers-tools-supplies/
Feel free to cite or share this guide.