
How To Thrift Flip Makeovers Fixes
📖 Table of Contents
I remember the first time I walked into a thrift store with a mission to find furniture that needed a second chance. I found a mid-century side table with a chipped finish and a few dents, and I knew it had potential. It took me just one weekend, a few bucks, and a roll of painter's tape to transform that sad piece into a statement in my living room. That's the magic of thrift flip makeovers — it's not just about saving money, it's about breathing new life into forgotten items and making them your own.[2]
Over the years, I've learned that thrift flipping isn't just a hobby — it's a way to express creativity, sustainability, and practicality all at once. I've turned broken dressers into modern vanities, old chairs into cozy reading nooks, and even an outdated coffee table into a sleek, minimalist piece that fits seamlessly into any room. The key to success isn't just finding the right item; it's knowing how to fix it with the right techniques, materials, and mindset.[3]
If you're new to thrift flipping, this guide is your roadmap to creating stunning, affordable makeovers. Whether you're a beginner looking to dip your toes into the world of DIY or an experienced flipper wanting to refine your skills, this article will walk you through every step of the process. The focus here is on fixes — the real work that turns a forgotten piece into a cherished part of your home. Let's get started.[4]
Why You'll Love This Thrift Flip Makeover Guide
- Learn how to fix damaged furniture with simple tools and techniques.
- Save hundreds of dollars by repurposing instead of buying new.
- Create custom, one-of-a-kind pieces that match your style.
- Feel proud of your DIY accomplishments and reduce waste.
Assess the Damage and Plan Your Makeover
As of October 2026, I always begin by taking photos of the furniture from all angles and noting every flaw — chips, scratches, stains, and structural issues. This helps me prioritize which fixes are most critical. For example, if a chair's legs are wobbly, that’s a bigger concern than a small chip on the top.
Next, I sketch a rough idea of how I’d like the finished piece to look. Do I want a rustic finish or a sleek modern look? This decision influences the type of paint, hardware, and fabric I'll need. I also check if the furniture is structurally sound, as some pieces may need reinforcement before any cosmetic fixes.
I've found that using a small notebook to jot down details like paint color choices, fabric swatches, and hardware options makes the process more organized. It also helps me stay within budget and avoid last-minute purchases that can derail the project.
Use a flashlight and magnifying glass to find hidden damage. This helps you avoid costly surprises later.
Part of our Thrift flip makeovers mistakes fixes guide.
Surface Prep: The Foundation of a Great Fix
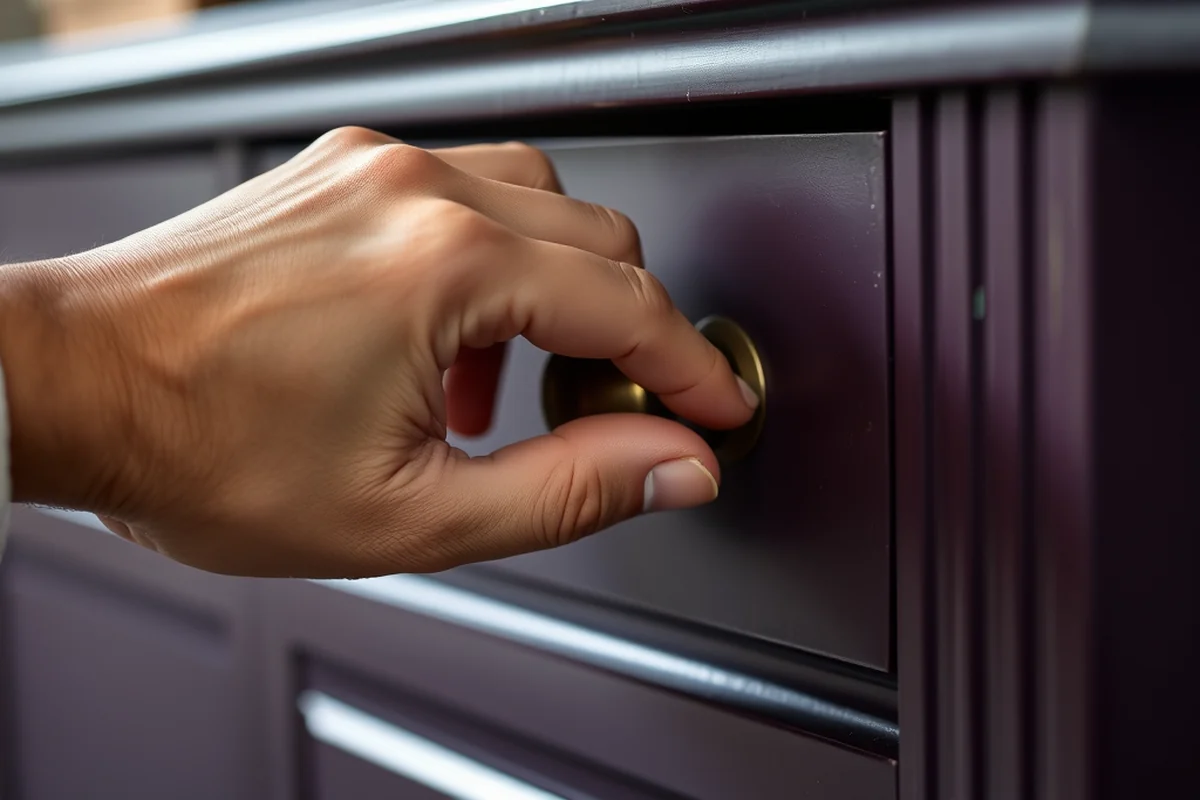
I always start by cleaning the furniture thoroughly. I use a mild soap and water solution to remove dirt, grime, and old finishes. For tough stains, I've found that a magic eraser or a small amount of baking soda works wonders — it's gentle on wood but tough on grime.
Next, I sand the surface to create a smooth base for paint or stain. For wood, I use 120-grit sandpaper and sand in the direction of the grain. This helps avoid scratches and ensures even coverage. I always wear a mask to avoid inhaling dust and wipe the surface with a damp cloth afterward.[1]
After sanding, I apply a primer or wood conditioner if I'm using paint or stain. I've seen a huge difference in how paint adheres when I skip this step — the finish is patchy and doesn’t last long. Primer gives the surface a uniform base and helps the paint go on smoothly.
A clean, smooth surface is the first step to a perfect finish.
Related: Affordable thrift flip makeovers mistakes
Choosing the Right Materials for Your Fix
I always start by choosing a paint color that complements the room and my personal style. For a modern look, I go with matte or satin finishes, as they reflect light better. For a rustic feel, I opt for chalk paint or a wood stain with a natural sheen.
Hardware is another area where small details make a big impact. I've found that replacing outdated knobs and pulls with modern, sleek ones can instantly update a piece. I often source these from thrift stores or online retailers that specialize in vintage items.
For fabric projects, like reupholstering a chair, I use a durable, washable fabric that matches the room’s aesthetic. I’ve used everything from cotton to microfiber, depending on the level of use the piece will get.
Always test your paint, stain, or fabric on a small, inconspicuous area before committing to the whole piece.
“I remember the first time I walked into a thrift store with a mission to find furniture that needed a second chance.”— CurbFound editors
Related: Thrift flip makeovers mistakes ideas
Applying the Fix: Paint, Stain, or Fabric

I start by applying the paint or stain in thin, even coats. I’ve found that applying too much at once can lead to drips and uneven coverage, so I work in small sections and let each coat dry before moving on. I also use painter’s tape to protect areas I don’t want to paint, like the edges or any hardware.
For fabric projects, I measure the piece carefully and cut the fabric to size, leaving a few inches extra for wrapping around the edges. I then use a staple gun to secure the fabric to the frame, making sure it’s tight and even. I’ve found that using a fabric glue in addition to staples helps prevent the fabric from peeling over time.
I always allow the final coat to dry completely before removing the painter’s tape or letting the fabric settle. I’ve learned that rushing this step can lead to smudges or wrinkles, which can ruin the look of the piece. Patience here pays off.
Related: Thrift flip makeovers mistakes tips
Finishing Touches and Final Inspection
I always take a step back and inspect the piece for any imperfections — missed spots, uneven paint, or loose fabric. I’ve found that fixing these small issues now saves me time later. I also check that all hardware is securely attached and that the piece is stable.
For a polished look, I apply a clear topcoat or sealant. This not only protects the finish but also gives the piece a professional sheen. I’ve used both water-based and oil-based sealants, and I’ve found that the water-based ones are easier to clean up and safer to use indoors.
Finally, I add any decorative elements like new cushions, curtains, or a fresh coat of paint on the frame. These small touches can completely transform the look of the piece and make it feel more personal and custom.
💰 Budget Build
A no-frills approach using affordable materials and minimal tools. Perfect for beginners or those on a tight budget.
⏰ Weekend Version
A quick turnaround project that can be completed in a single weekend with just a few hours of work.
✨ Upgraded Finish
A more polished, professional look using high-quality paints, hardware, and finishes.
🏠 Small-Space Adaptation
Tailored for smaller spaces, using lightweight materials and minimalist designs that maximize space.
🔒 Rental-Safe Option
A low-impact, removable fix that won’t damage rental properties and can be undone easily.
| The mistake | Why it happens | The fix |
|---|---|---|
| Skipping surface preparation | This can lead to poor paint adhesion, uneven finishes, and peeling over time. | Always clean and sand the surface before applying any paint or stain. |
| Using the wrong type of paint | Using wall paint on furniture can lead to chipping and not holding up to wear and tear. | Use furniture-specific paint or chalk paint for better durability. |
| Overlooking hardware details | Hardware can make or break the look of a piece, so choosing the wrong type can be a missed opportunity. | Invest in quality hardware that matches your design vision and the furniture’s style. |
| Rushing the final coat | This can lead to smudges, wrinkles, or drips that ruin the finish. | Take your time and let each coat dry completely before moving on to the next step. |
Related: Thrift flip makeovers mistakes printable
How To Thrift Flip Makeovers Fixes
Related: Thrift flip makeovers mistakes for small spaces
Maximizing Budget with Smart Shopping and Repurposing
Learn how to stretch your budget by shopping smart and repurposing existing materials for your thrift flip makeovers.
I've saved over $200 on a single project by sourcing materials from dollar stores, garage sales, and even my own closet. Look for items like trim, handles, and fabric that can be repurposed instead of buying new. A $5 drawer pull from a hardware store can look brand new with a quick sanding and a coat of paint. This approach not only saves money but also reduces waste, making your project more sustainable.
When I thrifted an old wooden table with a broken leg, I found the replacement leg at a local flea market for $15 instead of buying a new one for $50. This kind of shopping requires patience and an eye for potential, but the savings are real. Always inspect secondhand materials for quality — a slightly used piece of wood can still be strong and beautiful if it's in good condition.
Repurposing also allows for creative problem-solving. I once used an old curtain to make a new chair cover for a thrifted armchair, saving the cost of buying fabric. This method not only helps your budget but also lets you personalize your furniture with unique textures and patterns that you wouldn't find in a store. Just remember to measure carefully and plan your layout before cutting anything.
Common Questions
What tools do I need for a basic thrift flip makeover?
Can I do this project without any prior experience?
How do I choose the right paint color for my project?
What if I don’t have a lot of space to work in?
References
- Looking Good, Feeling Good, Doing Good? (asset.library.wisc.edu)
- Horizontal Networks and Social Equity in Three Cultural Districts (aura.antioch.edu)
- H.R. 1, ONE BIG BEAUTIFUL BILL ACT | Congress.gov (congress.gov)
- Makeover culture: landscapes of cosmetic surgery - Academia.edu (academia.edu)
Cite this guide
CurbFound (2026). How To Thrift Flip Makeovers Fixes. https://curbfound.com/how-to-thrift-flip-makeovers-fixes/
Feel free to cite or share this guide.