
Thrift Flip Makeovers Tips
📖 Table of Contents
I still remember the first time I found a vintage chair in the back of a thrift store — a battered, cracked piece of furniture that, after a few hours of sanding, painting. Reupholstering, turned into a showstopper in my living room. It was my first foray into thrift flip makeovers, and it changed the way I see secondhand goods forever. Thrift flip makeovers tips have since become the backbone of my DIY journey, and I’m here to walk you through exactly how I do it. For the full picture, see the complete guide to thrift flip makeovers — our complete hub on the topic.[3]
Thrift flip makeovers aren’t just about saving money; they’re about finding hidden beauty in the discarded, repurposing with care, and creating something that feels uniquely yours. I’ve spent countless hours in thrift stores, flea markets, and online marketplaces, learning what works and what doesn’t. The tips I’ve gathered over the years have helped me avoid common pitfalls, like overpainting a piece that needs to be stripped first, or buying something that’s structurally unsound.[4]
The key to a successful thrift flip makeover is preparation. Before you even set foot in a store or click on a listing online, you need a plan — and I mean a real one. I always carry a notebook with me, jotting down ideas, budgeting, and even sketching out how a piece might look after a few hours of work. Thrift flip makeovers tips, when applied carefully, can transform the mundane into the extraordinary, and I’m here to help you make that transformation happen.[5]
Why You'll Love This Thrift Flip Makeovers Approach
- Transform cheap, overlooked items into high-style, custom pieces with minimal cost.
- Learn to see value in the secondhand, giving new life to discarded treasures.
- Develop a set of skills that can be applied to any furniture or decor project.
- Create a space that reflects your personality, without the price tag.
What to Look for When Thrifting
As of September 2026, I’ve learned the hard way that not every thrifted piece is worth flipping. The first rule is to check for structural soundness — if the frame is broken, the legs are unstable, or the joints are loose, it’s probably not worth the effort. I look for solid wood, metal, or well-constructed particleboard, and I always test the weight-bearing capacity of tables and chairs before purchasing.
Next, I consider the potential for design. Is there a way to update it with paint, new hardware, or upholstery? I’ve spent hours painting over mismatched hardware only to realize the piece had a unique style that I should’ve preserved. It’s important to be selective about what you bring home — not all pieces have the potential to become something special.
Lastly, I pay attention to the story. Each piece has a history, and I love uncovering it. Whether it’s a mid-century chair or a vintage mirror, the story adds character and value. The most rewarding flips are the ones that feel like they were made for you, not just bought on a whim.
When you see a piece that feels like it has a history, that’s the sign to take it home — even if it’s priced higher than others. The story is what makes the piece special.
How to Clean and Prep Before Painting
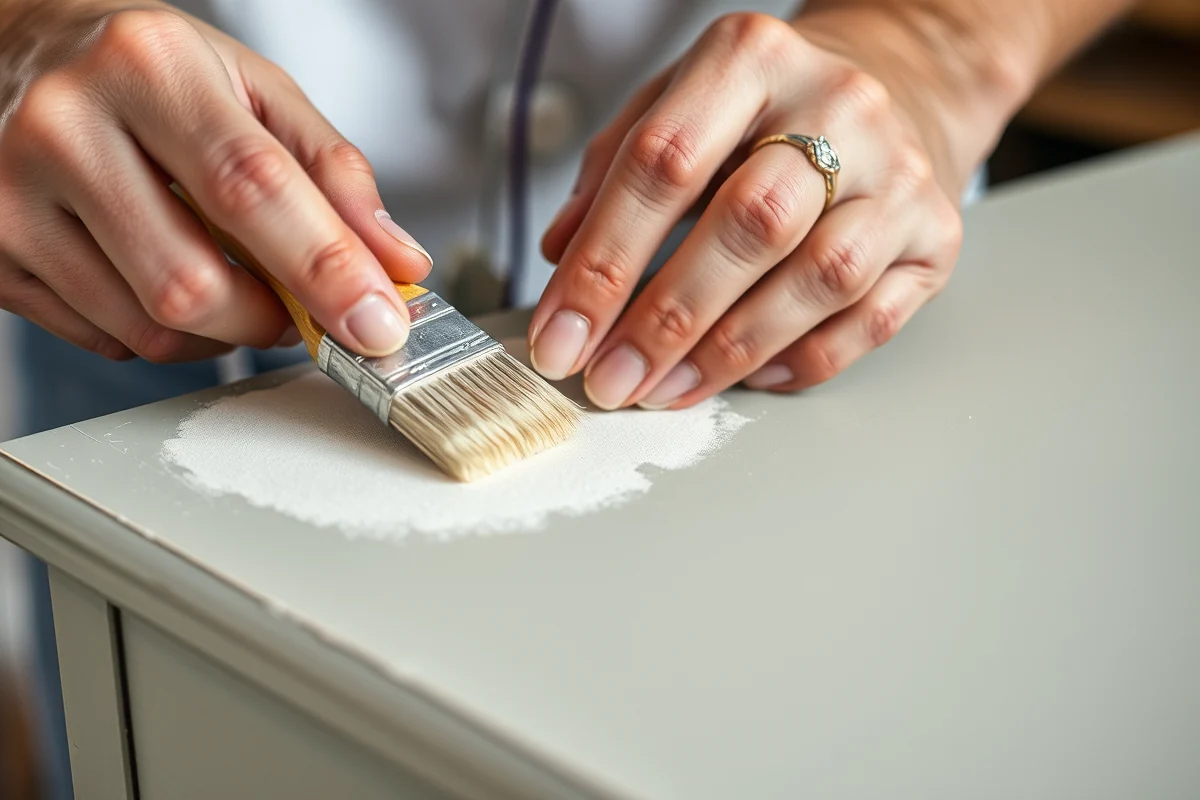
I always start by giving the piece a thorough cleaning. I use a mild soap and water solution, and I scrub away any dirt, grime, or old polish that might be on the surface. If the piece is really dirty, I’ll use a degreaser or a magic eraser to remove stubborn stains.
After cleaning, I sand the surface with 120-grit sandpaper to create a smooth base for the paint. I wear a mask to avoid inhaling the dust, and I do this in a well-ventilated area. If I’m working with a piece that has old paint, I’ll use a paint stripper to remove it — I’ve found that TSP (trisodium phosphate) works best for this.[1]
Once the surface is clean and sanded, I wipe it down with a damp cloth to remove any dust. Then I apply a primer — this is the most important step. Primer helps the paint adhere better and covers any imperfections. I always wait until the primer is completely dry before moving on to the next step.
Proper prep is the difference between a good flip and a great one.
Related: Fast easiest things to flip for profit
Painting Techniques That Make a Difference
I’ve tried everything from spray painting to brush painting, and I’ve found that using a brush gives the best finish. I start by applying a base coat of paint, using long, even strokes. I always paint in the same direction — either left to right or top to bottom — to avoid streaks.
If I’m working with a piece that has a lot of curves or intricate details, I’ll use a small brush and paint in sections. I also use a foam brush for flat surfaces, as it covers more area quickly and evenly. I always allow each coat to dry completely before applying the next one — this usually takes about 30 minutes to an hour.[2]
I’ve found that using a high-quality paint, like Sherwin-Williams or Benjamin Moore, makes a huge difference. These paints are more durable and cover better, which means fewer coats and a more professional look. I always test the paint on a small area first to make sure the color matches my vision.
Invest in a few quality brushes and a foam brush — they’ll make your painting job faster and more professional-looking.
“I still remember the first time I found a vintage chair in the back of a thrift store — a battered, cracked piece of furniture…”— CurbFound editors
Related: Thriftbooks official site
Adding Hardware and Finishing Touches
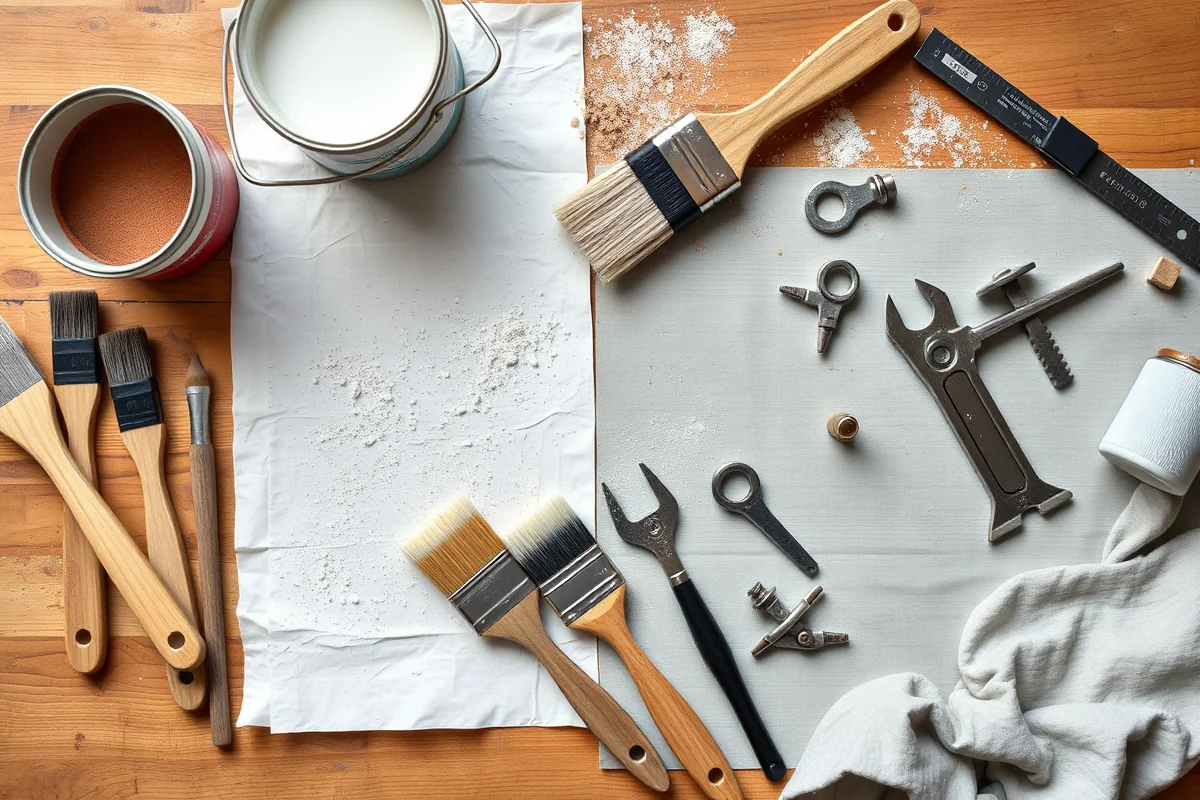
I always replace the hardware on any piece I flip. Even if the original hardware is still in good condition, it’s usually outdated or doesn’t match the new look. I prefer using oil-rubbed bronze or brushed nickel — these finishes are timeless and look great on any piece.
When installing new hardware, I use a screwdriver and a level to make sure everything is even. I also use a small piece of wood or cardboard to protect the surface from scratches. I’ve learned that using the right screws is important too — if they’re too long, they can damage the piece, and if they’re too short, the hardware won’t hold.
After installing the hardware, I apply a clear coat to protect the paint and give it a nice sheen. I use a water-based polyurethane, which is easy to apply and doesn’t yellow over time. I always apply two coats, allowing each one to dry completely before moving on to the next step.
Related: Repurposing thrift store items for flip without tools
How to Store and Protect Your Flipped Pieces
Once your piece is complete, it’s important to store it properly. I always keep my flipped pieces in a dry, cool place — ideally, a garage or a basement. I use cloth covers to protect them from dust and moisture, and I avoid stacking them on top of each other to prevent damage.
If I’m not using a piece right away, I’ll wrap it in bubble wrap or a thick cloth and place it on a shelf. This helps prevent scratches and dents. I’ve found that using a dehumidifier in the storage area is also helpful, especially in humid climates.
I also make sure to label each piece with its name and the date it was completed. This helps me keep track of my projects and makes it easier to find the right piece when I need it. I’ve learned that proper storage can make the difference between a piece that lasts a lifetime and one that falls apart after just a few months.
⭐ Classic
A timeless flip with a fresh coat of paint and new hardware.
💰 Budget
A quick and affordable flip with minimal tools and supplies.
⚡ Extra-Fast
A fast flip using pre-stained wood and ready-made hardware.
✨ Depth
A detailed flip with custom upholstery and unique paint finishes.
🥗 Light
A lightweight flip using foam paint and minimal hardware.
| The mistake | Why it happens | The fix |
|---|---|---|
| Overpainting without stripping old paint first | This can lead to a messy, uneven finish that looks unprofessional. | Always use a paint stripper to remove old paint before applying a new coat. |
| Using low-quality paint or tools | This can result in chipping, peeling, or an unattractive finish. | Invest in high-quality paint and brushes for a more professional look. |
| Neglecting to clean the surface before painting | Dirt and grime can prevent the paint from adhering properly, leading to a poor finish. | Always clean the surface thoroughly before sanding or painting. |
| Not allowing the paint to dry fully between coats | This can cause the paint to bubble or peel, ruining your work. | Always wait for each coat to dry completely before applying the next one. |
Related: Thrift store makeover ideas alternatives
Thrift Flip Makeovers Tips
Related: Top make a cute thrift flip
Common Questions
What’s the best type of paint to use for thrift flips?
How long does it take to complete a typical thrift flip?
What should I do if the furniture is really dirty or stained?
Can I use spray paint for thrift flips?
References
- Sigma Kappa/FIJI Thrift Flip - The University of Alabama at Birmingham (calendar.uab.edu)
- Thrift Flip Workshop/sewing - CougarConnect (connect.cscc.edu)
- Union Board Canvas Presents: Thrift Flip / Events Calendar (events.iu.edu)
- Union Board Canvas Presents: Thrift Flip - beINvolved (beinvolved.indiana.edu)
- Is Thrift Flipping Ethical and Sustainable? - Boston University (bu.edu)
Cite this guide
CurbFound (2026). Thrift Flip Makeovers Tips. https://curbfound.com/thrift-flip-makeovers-tips/
Feel free to cite or share this guide.