
Best Thrift Store Makeover Ideas
📖 Table of Contents
- The Power of Paint: A Simple Way to Transform Any Piece
- Upcycling Furniture: Giving Old Pieces New Life
- Refinishing Wood: Enhancing the Natural Beauty of Thrifted Pieces
- Adding Hardware: A Simple Way to Refresh Any Cabinet or Drawer
- Creating a Thrifted Decor Collection: A Way to Personalize Your Space
- Make It Your Way
- Frequently Asked Questions
- The Printable Steps & Materials
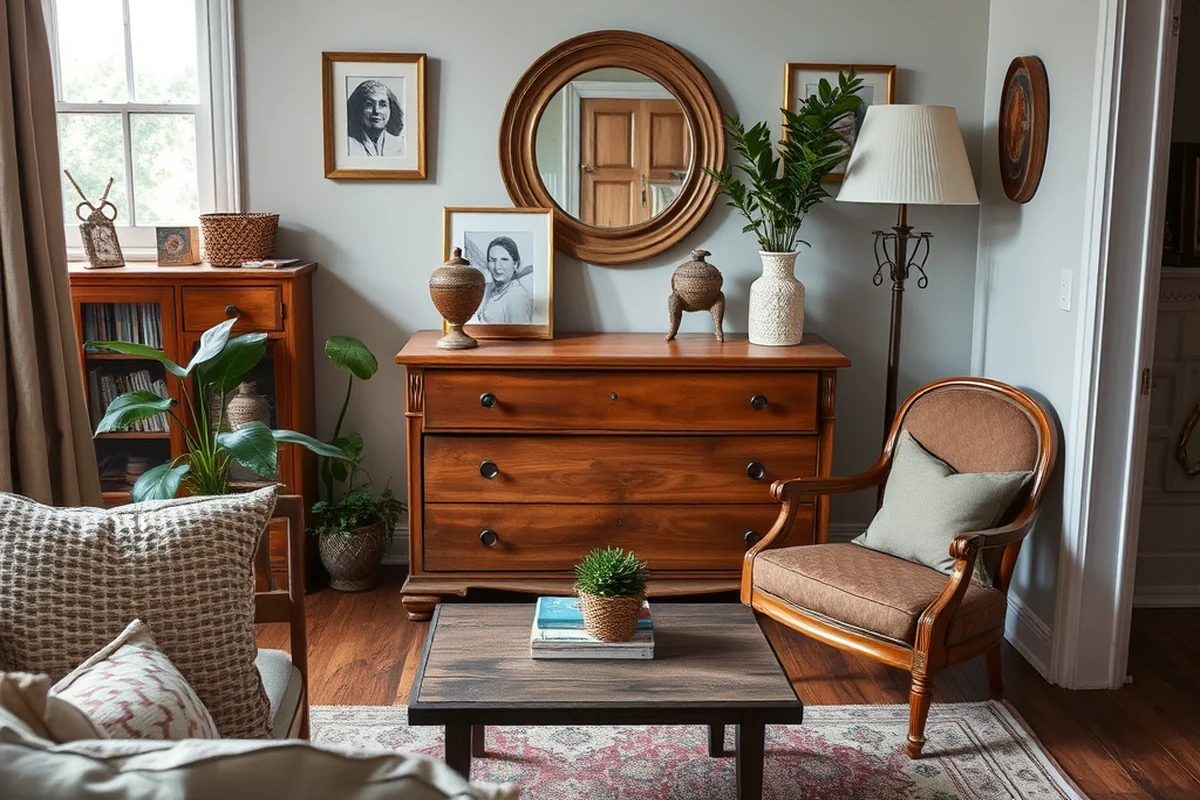
I still remember the day I found that dented, chipped mirror at the corner thrift store. It looked like it had been through a war, but I saw something in it — a chance to transform a forgotten piece into something elegant and usable. That mirror, now restored with a fresh coat of paint and a subtle gold trim, hangs in my living room and has become a favorite part of my home. It was the first of many thrift store finds I’ve turned into beautiful, functional pieces, each with a story and a purpose. The best thrift store makeover ideas don’t just save money — they breathe new life into forgotten treasures.[1]
Thrift shopping is more than just a way to save money; it's a form of creative expression. Every secondhand item has a past, and with the right techniques, you can give it a new future. I’ve spent countless hours in thrift stores, flipping through the clutter, and uncovering hidden gems that only need a little love to shine. Whether it's a worn-out armchair, a stained table, or a cracked lamp, each piece has its own character and potential. The best thrift store makeover ideas are about understanding that potential and unlocking it through thoughtful, hands-on work.[2]
One of the most satisfying parts of thrifting is the process of transformation itself. I remember one particular night when I took home a coffee table that had been abandoned in the corner of a store, its surface scarred and its legs wobbly. But with some sanding, a fresh coat of paint, and a few new legs, it became a focal point of my living room. The best thrift store makeover ideas aren’t just about aesthetics — they’re about creating something that fits your home and reflects your personality. It's all about taking what’s there and making it new again.[3]
Why You'll Love This Thrift Store Makeover Journey
- Rediscover the value of secondhand items with a fresh perspective and new skills.
- Create unique, personalized decor that reflects your style and personality.
- Save money while making a positive impact on the environment.
- Enjoy the satisfaction of transforming forgotten objects into beautiful, functional pieces.
The Power of Paint: A Simple Way to Transform Any Piece
As of August 2026, Paint is one of the most powerful tools in any DIYer’s arsenal with transforming thrifted pieces. I’ve used it to give everything from old chairs to worn-out picture frames a completely new look. It’s surprising how much of a difference a simple color change can make. I once painted an old wooden cabinet a soft sage green, and it instantly became the centerpiece of my kitchen.[4]
When choosing paint, I always go for high-quality, durable options. It’s worth the extra cost because it lasts longer and looks better over time. I’ve found that using a primer before painting helps the color adhere better and prevents the paint from peeling. I always let the first coat dry completely before applying the second.[5]
One of the best parts of painting thrifted pieces is the ability to customize your space. I’ve used bold colors on furniture to make a statement, and I’ve also used neutral tones to create a more subdued, elegant look. It's all about knowing your space and what kind of look you want to achieve.
Always use a primer before painting thrifted furniture. It helps the paint stick better and makes the finished product look more professional. I’ve saved myself from having to repaint several pieces by taking this extra step.
Part of our Thrift flip makeovers guide.
Upcycling Furniture: Giving Old Pieces New Life
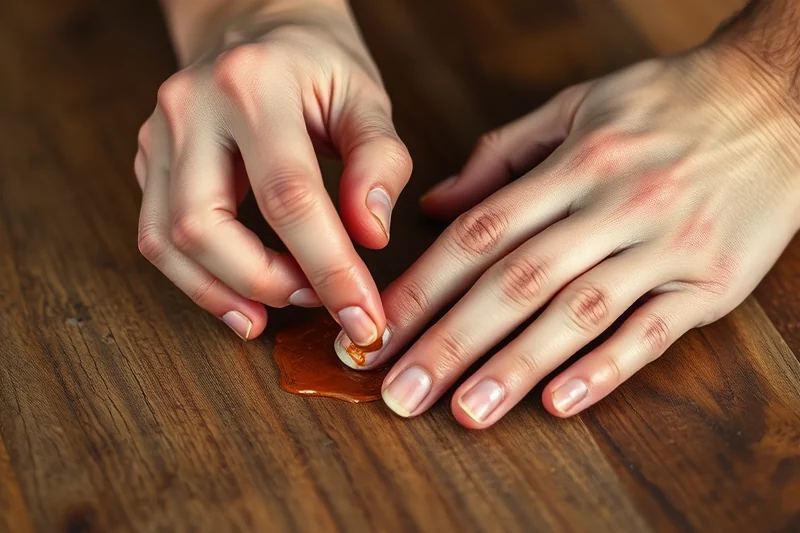
I’ve upcycled everything from dressers to side tables, and the results have been amazing. One of my favorite projects was transforming an old, worn-out vanity into a modern-style console table. I sanded it down, painted it white, and added new legs — and it became a showstopper in my entryway.
The key to successful upcycling is knowing which pieces to choose. I look for furniture that’s structurally sound but has some wear and tear. I avoid pieces that are too broken down or have major damage that can’t be fixed. It’s also important to consider the style of the furniture and whether it will fit into your existing decor.
Upcycling isn’t just about aesthetics; it’s also about sustainability. By giving old pieces new life, you’re reducing waste and saving money. I’ve made it a point to upcycle as much as I can, and I’ve never regretted it. It’s satisfying to know that I’m making a positive impact on the environment while also creating something beautiful.
Upcycling is not just about making things look new — it's about giving them a second chance.
Related: Flip thrift store items without tools
Related: Budget thrift store makeover ideas
Related: Beginner things to flip for profit
Related: Beginner thrift flip makeovers
Related: Flipping thrift store items that work
Related: Online thrift furniture makeover comparison
Related: Essential flip thrift store items
Related: Online thrift furniture makeover ideas
Related: Diy thrift store makeover ideas
Related: Top make a cute thrift flip
Related: Fast easiest things to flip for profit
Refinishing Wood: Enhancing the Natural Beauty of Thrifted Pieces
I’ve refined everything from old dressers to rustic coffee tables, and each project has been a rewarding experience. One of my favorite projects was refinishing an old wooden chest that had been stained with a dark, outdated finish. I sanded it down, cleaned it thoroughly, and then applied a new stain that brought out the wood’s natural grain and texture.
Refinishing wood can be a bit time-consuming, but the results are worth it. I always start by sanding the piece down completely, which helps remove the old finish and prepares the wood for the new stain. I use a fine-grit sandpaper to avoid leaving any scratches on the wood.
Choosing the right stain is crucial. I’ve found that using a water-based stain is easier to work with and less toxic than oil-based options. I always test the stain on a small, inconspicuous area first to make sure I’m happy with the color before applying it to the entire piece.
Before applying any stain or paint, it's important to sand the piece down completely. This ensures a smooth, even finish and helps the new stain or paint adhere properly. I always take my time with this step — it's the foundation of a great refinishing project.
“I still remember the day I found that dented, chipped mirror at the corner thrift store.”— CurbFound editors
Related: Thrift store makeovers explained
Related: Thrift flip makeovers printable
Related: Diy flip thrift store items
Related: Things to flip for profit checklist
Related: Diy thrift flip makeovers for beginners
Related: Affordable items to flip
Related: Thrift flip makeovers tips ideas
Related: Make a cute thrift flip under 30 minutes
Related: Flipping thrift store items
Related: Top flipping thrift store items
Related: Thriftbooks official site
Adding Hardware: A Simple Way to Refresh Any Cabinet or Drawer
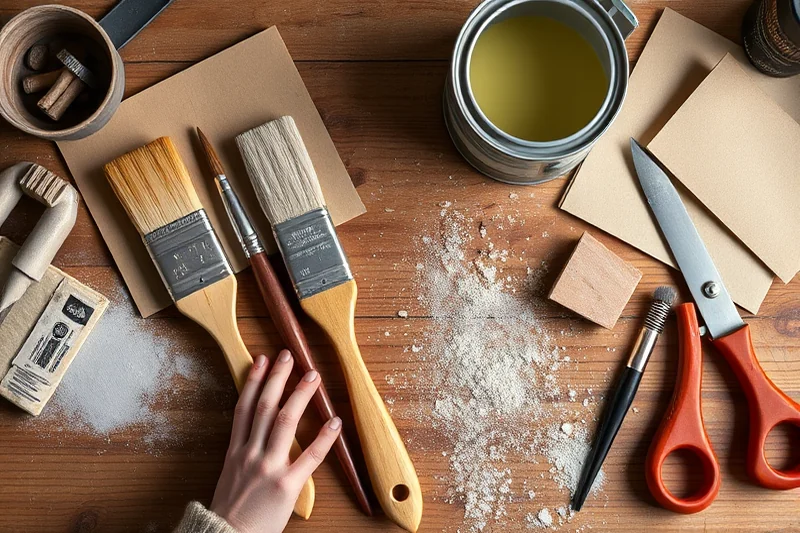
One of the simplest ways to update thrifted cabinets or drawers is by adding new hardware. I’ve used this technique on several pieces, and it’s always worked wonders. One of my favorite projects was replacing the old, tarnished handles on an old buffet with new, modern ones — and it instantly gave the piece a fresh, updated look.
When choosing hardware, I always consider the style of the furniture. I look for pieces that will complement the overall look of the room. I’ve found that using a mix of handle and knob styles can create a more eclectic, personalized look, while using the same style throughout can create a more cohesive, polished look.
Installing new hardware is a relatively simple task, but it’s important to take your time and ensure everything is properly aligned. I’ve found that using a level is essential when installing new handles, especially on larger pieces like cabinets and dressers.
When installing new hardware, it's important to use a level to ensure everything is perfectly aligned. This helps the piece look more polished and professional. I’ve saved myself from having to redo several hardware installations by taking this step.
Related: Natural thrift store makeovers
Related: Homemade thrift flip makeovers ideas
Related: Cheap online thrift furniture makeover
Related: Make a cute thrift flip step by step
Related: Simple thrift flip makeovers tips
Related: Diy thrift store makeovers
Related: Fast easiest items to flip for profit
Related: Thrift store makeovers how to choose
Related: Cheap flip thrift store items
Related: Repurposing thrift store items for flip without tools
Creating a Thrifted Decor Collection: A Way to Personalize Your Space
I’ve always loved collecting thrifted decor, and I’ve found that it’s one of the most fun parts of the process. Whether it’s vintage plates, old picture frames, or retro lamps, each piece adds a unique touch to my home. I’ve created several different collections over the years, each with its own theme and style.
When curating a thrifted decor collection, I always look for pieces that have a story or a unique character. I love finding vintage items with imperfections — they add a sense of history and charm to a space. I’ve also found that mixing and matching different eras and styles can create a more eclectic, personalized look.
One of the best parts of creating a thrifted decor collection is the ability to express your own personality and taste. I’ve found that it’s a great way to make your home feel more like you — and it’s also a fun way to experiment with different styles and themes.
When creating a thrifted decor collection, don’t be afraid to mix and match different styles and eras. This can create a more eclectic, personalized look that truly reflects your taste and personality. I’ve found that it’s one of the most fun parts of the process.
⭐ Classic
A timeless approach using neutral tones and traditional hardware for a clean, elegant look.
💰 Budget
An economical version focusing on minimal cost with DIY-friendly materials and techniques.
⚡ Extra-Fast
A quick project using pre-stained wood and ready-made hardware to save time and effort.
✨ Depth
A more involved project with multiple layers of paint and custom hardware to create a unique, personalized look.
🥗 Light
A minimalist approach using natural wood finishes and subtle accents for a more subdued, elegant look.
| The mistake | Why it happens | The fix |
|---|---|---|
| Using low-quality paint or primer | Low-quality paint or primer can lead to peeling, chipping, and a less professional finish. It’s important to invest in quality materials for a lasting result. | Always use high-quality paint and primer. I’ve found that it makes a noticeable difference in the final outcome. |
| Skipping the sanding step | Skipping the sanding step can leave the old finish on the piece, which can cause the new paint or stain to not adhere properly. It can also create an uneven finish. | Always sand the piece down completely before applying any paint or stain. It's the foundation of a great refinishing project. |
| Not allowing the paint to dry completely | Not allowing the paint to dry completely can lead to smudges, streaks, and an uneven finish. It’s important to be patient and let each coat dry before moving on to the next. | Always allow each coat of paint to dry completely before applying the next. I’ve found that taking the time to do this makes a noticeable difference in the final result. |
| Overlooking hardware alignment | Misaligned hardware can make a piece look unprofessional and can also affect the functionality of the furniture. It's important to take your time and ensure everything is properly aligned. | Always use a level when installing new hardware. I’ve saved myself from having to redo several hardware installations by taking this step. |
Materials & Tools tap to check off
- 1 lb Sandpaper (220-320 grit)
- ½ cup Paint primer (white or neutral color)
- Paint (your chosen color, 1-2 gallons depending on project size)
- Paint brushes and rollers
- Drop cloth or old newspaper
- Painter’s tape
Method tap a step when done
- Gather all your materials and set up your workspace in a well-ventilated area.
- Measure the piece you’re working on and determine how much paint and primer you’ll need.
- Sand the piece down completely using 220-320 grit sandpaper. This helps remove the old finish and prepares the surface for the new paint.
- Wipe the piece down with a damp cloth to remove any dust or debris from sanding.
- Apply a coat of paint primer to the entire piece, allowing it to dry completely before proceeding.
- Apply your chosen paint in even, smooth strokes, using a brush or roller as needed. Apply a second coat if necessary.
Key Facts
Related: Easiest items to flip for profit at home
Related: Items to flip reviews
Related: Repurposing thrift store items for flip
Related: Small thrift flip makeovers
Related: Easy easiest things to flip for profit
Related: Easiest things to flip for profit for beginners
Related: Easiest things to flip for profit for families
Related: Thrift store makeover ideas alternatives
Best Thrift Store Makeover Ideas
Related: Flipping thrift store items tips
Related: Beginner thrift store makeover ideas
Related: Thrift flip makeovers for beginners on a budget
Related: Minimalist thrift store makeovers
Related: Repurposing thrift store items for flip list
Related: Natural thrift flip makeovers for beginners
Related: Budget thrift flip makeovers ideas
Common Questions
What are the best types of paint to use for thrift store furniture?
How do I know if a thrifted piece is worth restoring?
What is the best way to sand thrifted furniture?
How long does it take to paint a thrifted piece of furniture?
References
- Is Thrift Flipping Ethical and Sustainable? - Boston University (bu.edu)
- BUS304: Thrift Store Management Course Online - City Vision University (cityvision.edu)
- A sustainable guide to thrifting - University of Colorado Boulder (colorado.edu)
- The Gentrification of Thrift Stores and its Ecological Effects (confluence.gallatin.nyu.edu)
- The Dark Side of Thrifting | Q Magazine (q.sustainability.illinois.edu)
Cite this guide
CurbFound (2026). Best Thrift Store Makeover Ideas. https://curbfound.com/best-thrift-store-makeover-ideas/
Feel free to cite or share this guide.