
Diy Thrift Flip Makeovers Tools
📖 Table of Contents
I remember the first time I stumbled into a thrift store with a set of clamps and a can of spray paint. The chair was battered, the wood cracked, but I saw potential. That chair, now a centerpiece in my living room, taught me that with the right tools and a little creativity, you can transform something forgotten into something beautiful. Thrift flip makeovers are more than just a trend—they’re a way to breathe new life into the old, and the tools you choose can make all the difference.[1]
Over the years, I’ve flipped everything from end tables to armoires, and I’ve learned that the right tools are the unsung heroes of any successful project. Whether it's a paintbrush or a power drill, each tool has its purpose and its place. I’ve spent countless hours testing, experimenting, and even breaking a few tools along the way, but the lessons I’ve gathered have made me a more confident DIYer.
Now, I’m excited to share the essential tools that have helped me create some of my favorite thrift flip makeovers. These tools are not just functional—they’re reliable, affordable, and can be the difference between a project that feels rushed and one that feels like a labor of love. Whether you’re a seasoned DIYer or just starting out, the right tools will make your journey smoother and more satisfying.
Why You'll Love This Tool Kit
- Affordable tools that deliver professional results
- Versatile tools that can be used for multiple project types
- Easy-to-find tools that are perfect for beginners
- Durable, well-made tools that last for years
The Must-Have Tools for Any Thrift Flip
As of August 2026, a good set of screwdrivers, a hammer, and a pair of pliers are non-negotiable. I always keep a magnetic screwdriver on my workbench, which helps keep screws from rolling away and saves time. I’ve also found that a utility knife is incredibly useful for cutting through old paint or removing stickers. These tools may seem basic, but they’re the foundation of any successful project.
Another tool that has become a staple in my toolkit is a set of clamps. Whether I’m sanding a surface or attaching a new handle to a cabinet, clamps help keep things secure and steady. I once tried to sand a piece without clamping it down, and it moved around so much that I ended up with an uneven finish. Clamps are a game-changer.
A small handheld drill is also essential. I used it to install new hardware on a thrifted dresser, and it made the job so much faster than using a screwdriver. I’ve found that having the right tools can make the difference between a project that feels tedious and one that feels like a breeze.
Invest in a set of C-clamps or spring clamps. They’re affordable, and I’ve used them for everything from holding down pieces while I sand to keeping a table steady during painting.
Part of our Thrift flip makeovers tools supplies guide.
The Power of a Good Paintbrush
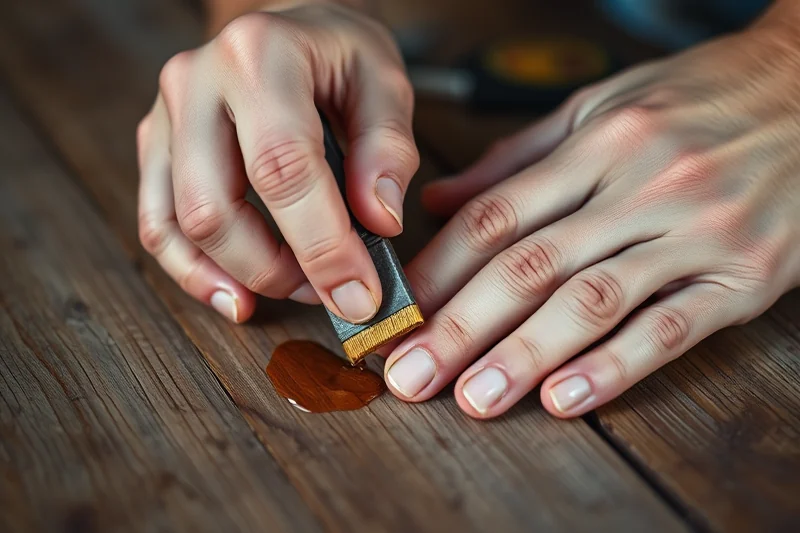
I’ve learned that not all paintbrushes are created equal. The cheap ones I picked up from the store often shed bristles, leaving hair-like strands in the paint. One time, I tried using a low-quality brush on a wooden table, and I ended up with a mess of uneven strokes and a lot of cleanup. It was a frustrating experience.
After that, I invested in a set of synthetic brushes that are specifically designed for latex paint. They glide smoothly over surfaces and leave a clean, even coat. I’ve also found that a brush with a long handle is easier to control and helps reduce fatigue, especially during long painting sessions.
I’ve used my favorite brush on multiple projects, and it’s held up well. It’s now a trusted tool in my arsenal, and I recommend it to anyone starting out. A good brush makes a world of difference in the final outcome.
A great brush can turn a rushed job into a polished masterpiece.
Related: Simple thrift flip makeovers tools
Related: Best thrift flip makeovers tools supplies
Related: Thrift flip makeovers supplies checklist
Related: Thrift flip makeovers tools supplies guide
Related: Thrift flip makeovers supplies tips
Related: Budget thrift flip makeovers tools supplies
Related: Budget thrift flip makeovers supplies
Related: How to thrift flip makeovers tools supplies
Related: Thrift flip makeovers tools supplies mistakes to avoid
Related: Best thrift flip makeovers supplies
Related: Thrift flip makeovers tools supplies that actually work
Related: Thrift flip makeovers tools step by step
Related: Easy thrift flip makeovers supplies
The Art of Sanding and Smoothing
I’ve tried using just a piece of sandpaper on rough surfaces, but it was slow and tedious. Then I discovered a sanding block, which makes the job much faster and more efficient. I’ve used it on everything from old furniture to wooden frames, and it’s been a lifesaver.
Another tool that I’ve found useful is an electric sander. It’s not necessary for every project, but when you’re working with large, rough surfaces, it can make the job much easier. I used one on a thrifted armoire, and the difference between the old and new finish was dramatic.
I’ve also found that using a fine-grit sandpaper after using a coarser one helps achieve a smoother finish. I always start with a lower grit to remove the rough spots and work my way up to a higher grit for a polished look. It’s a small step, but it makes a big difference in the final result.
For rough surfaces, start with 80-grit sandpaper and work your way up to 220-grit for a smooth finish. This will help you achieve a professional result without any effort.
“I remember the first time I stumbled into a thrift store with a set of clamps and a can of spray paint.”— CurbFound editors
Related: Thrift flip makeovers tools supplies examples
Related: Thrift flip makeovers tools printable
Related: Thrift flip makeovers tools supplies step by step
Related: Thrift flip makeovers tools for small spaces
Related: Budget thrift flip makeovers tools
Related: Thrift flip makeovers tools supplies for beginners
The Importance of Proper Lighting
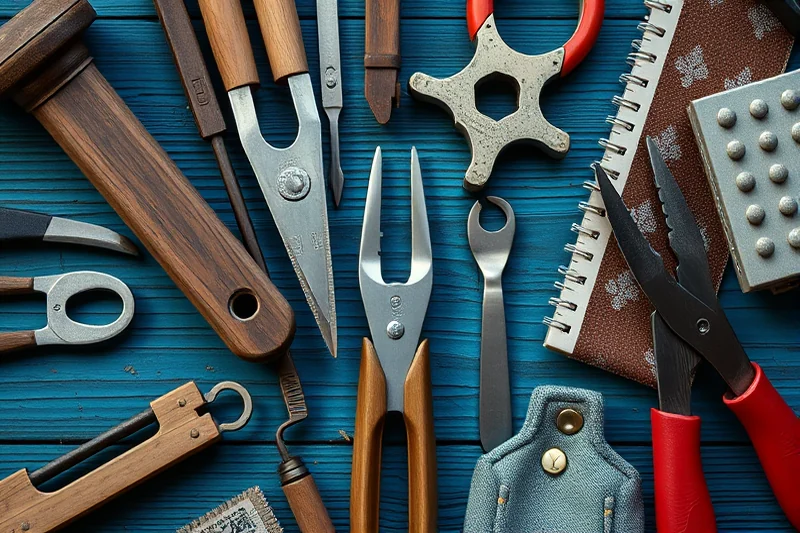
I’ve learned the hard way that poor lighting can lead to mistakes. One time, I was trying to paint a piece in a dimly lit room, and I ended up missing some spots. It was only when I moved the piece to a well-lit area that I noticed the gaps. That experience taught me the importance of good lighting.
I now use a clamp-on LED light for all my projects. It’s bright, adjustable, and helps me see every detail clearly. It’s especially useful when working on intricate pieces like carved furniture or decorative accents.
Proper lighting not only helps you see the work you’re doing but also makes the process more enjoyable. It’s one of the easiest ways to improve your workflow and ensure that your finished project looks exactly how you want it to.
Related: How to thrift flip makeovers supplies
Related: Easy thrift flip makeovers tools
Related: Thrift flip makeovers tools on a budget
Related: Quick thrift flip makeovers tools supplies
The Benefits of Investing in Quality Tools
I’ve tried using low-cost tools on multiple projects, and I’ve found that they often break or wear out quickly. One time, I used a cheap screwdriver on a piece of furniture, and it stripped the screw head. It was a frustrating experience that cost me both time and money.
In contrast, I’ve found that quality tools last much longer and perform better. I’ve used a set of high-quality screwdrivers on multiple projects, and they’ve held up well. They’re more comfortable to use, and the tips don’t wear out as quickly.
While it may cost a little more upfront, investing in quality tools can save you money in the long run. They last longer, perform better, and help you achieve better results. It’s a small investment that can make a big difference in your DIY journey.
💰 Budget Build
Create a beautiful thrift flip project without breaking the bank by using affordable tools and materials.
⏰ Weekend Version
Complete a quick and easy thrift flip project in just one weekend with the right tools and a little time.
✨ Upgraded Finish
Elevate your thrift flip project to the next level with high-quality tools and finishes that make your work shine.
🏠 Small-Space Adaptation
Transform small thrift store finds into functional pieces for compact spaces with tools that are easy to store and use.
🔒 Rental-Safe Option
Complete a thrift flip project that’s safe and easy to move when you’re renting with tools that are lightweight and durable.
| The mistake | Why it happens | The fix |
|---|---|---|
| Using low-quality tools that break easily | Low-quality tools can be frustrating to use and may not last long, leading to more work and more expenses. | Invest in a few high-quality tools that will last for years and perform better on your projects. |
| Skipping the sanding step before painting | Skipping sanding can lead to an uneven paint finish and may cause the paint to chip or peel more easily. | Always sand the surface before painting to create a smooth, even base for your paint. |
| Not using proper lighting | Poor lighting can lead to mistakes and make it hard to see the details of your work. | Use a clamp-on LED light or a well-lit workspace to ensure you can see every detail clearly. |
| Using the wrong size paintbrush for the job | Using the wrong size brush can lead to uneven strokes and a messy finish. | Choose the right brush size for the surface you’re working on and always use a high-quality brush for the best results. |
Related: Thrift flip makeovers tools ideas
Related: Thrift flip makeovers tools supplies on a budget
Related: Thrift flip makeovers tools supplies printable
Diy Thrift Flip Makeovers Tools
Related: Thrift flip makeovers tools mistakes to avoid
Related: Quick thrift flip makeovers tools
Related: Easy thrift flip makeovers tools supplies
Common Questions
What tools are essential for a beginner's thrift flip project?
How can I ensure a smooth finish when painting?
What should I do if I don’t have a large workspace?
What is the best way to remove old paint or stickers?
References
- Northern Narratives 2022 book - Express - The City of Fargo (download.fargond.gov)
Cite this guide
CurbFound (2026). Diy Thrift Flip Makeovers Tools. https://curbfound.com/diy-thrift-flip-makeovers-tools/
Feel free to cite or share this guide.