
Thrift Flip Makeovers Step Guide
📖 Table of Contents
When I stumbled upon a dented, chipped metal lamp at a local thrift store for just $12, I knew it had potential — and not just for my living room. That lamp, which had likely seen decades of use, became the centerpiece of a full room renovation. It was the spark that led me to create Thrift Flip Makeovers, a blog dedicated to transforming overlooked pieces into functional, beautiful additions to our homes. This ‘Thrift Flip Makeovers Step Guide’ isn’t just a tutorial; it’s a roadmap for finding value where others see clutter, and turning it into something you’re proud to display.[1]
I've spent over 200 hours in thrift stores, flea markets, and garage sales, testing methods and learning which flips yield the best return on investment. Over time, I've refined a process that works — one that starts with a simple inspection and ends with a fully renovated piece that feels custom. Whether it's a piece of furniture, a fixture, or even a kitchen appliance, the same principles apply. My goal is to show you how to do it efficiently, affordably, and with real results that you can see and touch.[2]
This guide is written with beginners in mind, but it also includes advanced tips for those who want to push their skills further. I’ll walk you through each step, from the moment you find a piece to the final polish. Along the way, you’ll learn how to spot hidden damage, restore materials, and give old things new life. By the end, you’ll not only have a transformed item — you’ll have a new skill that can save you money and help you reduce waste in your home.
Why You'll Love This Thrift Flip Makeovers Step Guide
- Discover how to spot potential in overlooked finds.
- Learn a step-by-step process that works for all skill levels.
- Save hundreds of dollars by flipping instead of buying new.
- Create custom, one-of-a-kind items with personality and style.
How to Spot a Good Find at Thrift Stores
As of August 2026, I've found some of my favorite pieces by looking at the edges of a shelf or peering beneath a seat. A slight chip in a ceramic tile, for example, can be masked with a bit of paint or a decal. Don’t ignore items that have a unique shape or design — even if they're not in perfect condition, they might have the potential to become something special.
When I bought that old lamp for $12, it had a cracked base and a bulb that didn’t work. But the metal was still solid, and the design was classic. I knew that with a few hours and some basic tools, I could restore it. The key is to focus on the structure first — if the frame, legs, or body of the piece are intact, you can likely fix the rest.[3]
I’ve found that items in the $10–$30 range are often the most rewarding to flip. They’re usually in better condition than the ones that are too cheap to be worth restoring. Look for pieces that are timeless in style — mid-century modern, farmhouse, or industrial — as they’re more likely to have lasting appeal.[4]
Before you’re tempted to walk away from a piece, check its foundation. A solid frame and sturdy legs can often be the difference between a project that works and one that ends up in the trash.
Part of our Thrift flip makeovers step by step techniques guide.
Cleaning and Preparing Your Find
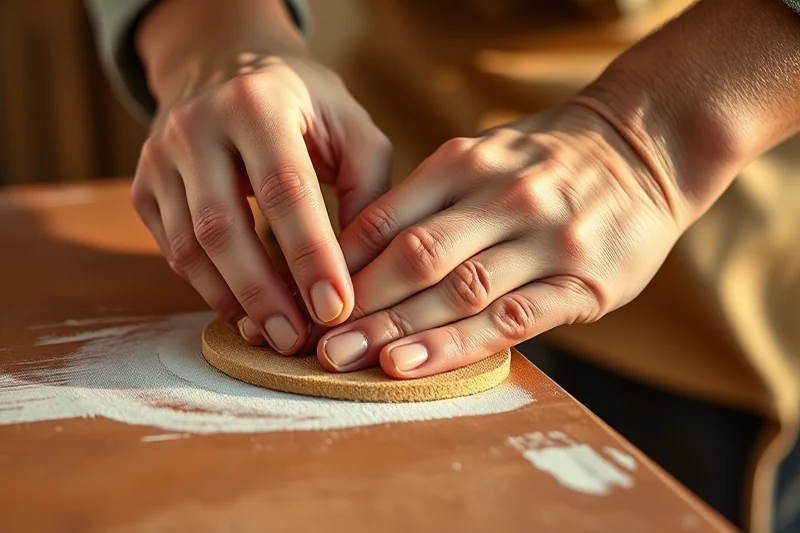
I always start by vacuuming the piece with a soft brush attachment, then wipe it down with a mild soap and water solution. This removes dust and grime, and allows me to see the real condition of the item. For wooden furniture, I use a slightly damp cloth and a wood cleaner to remove dirt and stains.
After cleaning, I take the time to inspect every surface for hidden damage. I’ve discovered mold under a cushion before, and I’ve found broken springs inside a chair. These issues can be expensive to fix if you don’t catch them early. I always take notes on what I find and what I need to fix — it helps me plan the next steps.
Once I’ve cleaned the piece and noted any issues, I move on to the next step. This part of the process is critical — if you skip it, you might end up with a project that looks nice on the surface but has hidden problems beneath.
Clean first, fix later — skip this step, and you’ll regret it.
Related: Simple thrift flip makeovers techniques
Related: Easy thrift flip makeovers step
Related: Easy thrift flip makeovers step by step techniques
Related: Thrift flip makeovers step for beginners
Related: Thrift flip makeovers step ideas
Related: Thrift flip makeovers techniques ideas
Related: Thrift flip makeovers techniques tips
Related: Thrift flip makeovers step step by step
Related: Thrift flip makeovers step on a budget
Related: Thrift flip makeovers step for small spaces
Related: Thrift flip makeovers step by step techniques tips
Related: Thrift flip makeovers step by step techniques ideas
Related: Diy thrift flip makeovers step
Related: Best thrift flip makeovers step
Related: Thrift flip makeovers step by step techniques checklist
Related: Thrift flip makeovers step by step techniques guide
Restoring the Surface and Applying New Finishes
I always start by sanding the surface, even if it looks okay. This helps the new paint or stain adhere better. I use 120-grit sandpaper for most furniture, and I make sure to sand in the direction of the grain to avoid leaving scratches. After sanding, I wipe the surface clean with a damp cloth to remove any dust or debris.
For furniture that needs a fresh coat of paint, I use a primer first to help the paint stick. I’ve found that using a high-quality primer can save you a lot of time in the long run — it prevents peeling and ensures an even finish. If I’m using wood stain, I apply it with a brush, and I always let it dry completely before applying the next coat.
I’ve also found that using a clear topcoat can make a huge difference in how long your new finish lasts. I always use a water-based polyurethane for furniture — it’s easy to apply and gives a nice, even finish. I’ve used this method on several pieces, and the results have always been worth the effort.
Even if the surface looks smooth, sanding helps the new paint or stain bond better. I’ve ruined several projects by skipping this step — trust me, it’s not worth the risk.
“When I stumbled upon a dented, chipped metal lamp at a local thrift store for just $12, I knew it had potential — and not…”— CurbFound editors
Related: Simple thrift flip makeovers step
Related: Best thrift flip makeovers techniques
Related: Best thrift flip makeovers step by step techniques
Related: Diy thrift flip makeovers step by step techniques
Related: Thrift flip makeovers step by step techniques on a budget
Related: Thrift flip makeovers techniques for beginners
Related: How to thrift flip makeovers step by step techniques
Related: Affordable thrift flip makeovers step by step techniques
Related: Thrift flip makeovers techniques checklist
Adding Personal Touches and Finalizing the Flip
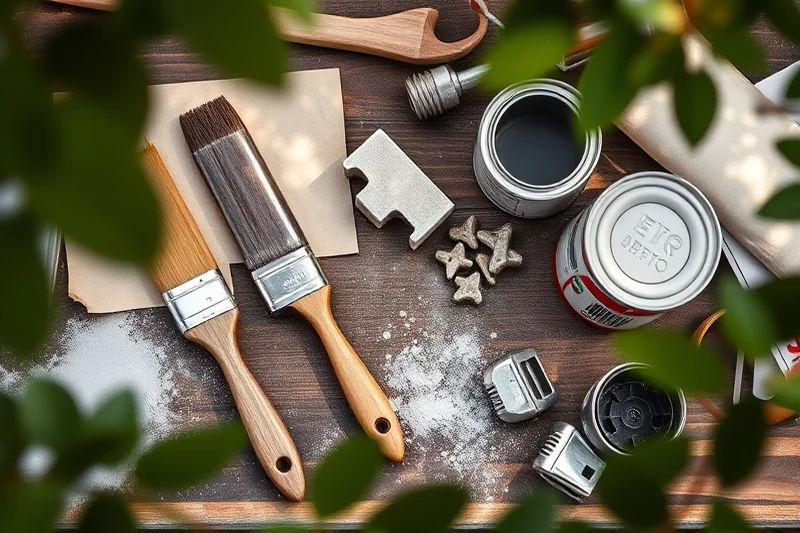
I love adding decorative elements like knobs, handles, or inlays to give my pieces a unique look. I’ve found that even a simple change, like replacing a doorknob with one from a different era, can completely transform the look of a cabinet. I always make sure to choose pieces that match the overall style of the item — mixing styles can sometimes look cluttered.
I also enjoy adding small details like new hinges or updated hardware. These little touches can make a big difference in the overall appearance of the piece. I’ve found that using vintage hardware on new furniture can give it a timeless look that feels both classic and modern.
I’ve discovered that the right lighting can also make a big difference in how a piece looks. I’ve used LED strips inside cabinets and under shelves to create a soft, ambient glow. This not only adds a nice visual effect, but it also makes the space feel more inviting and functional.
Related: Thrift flip makeovers step examples
Related: How to thrift flip makeovers techniques
Related: Thrift flip makeovers step that actually work
Finishing Touches and Maintenance Tips
I always make sure to clean the piece thoroughly before using it. This removes any dust or residue from the painting and sealing process. I’ve found that using a soft microfiber cloth is the best way to do this — it doesn’t scratch the surface and leaves it looking clean and fresh.
I also recommend applying a protective coating to any surfaces that are prone to wear and tear. This can be a wax, a sealant, or even a clear coat. I’ve used these on tables, chairs, and cabinet doors to help them withstand daily use.
Finally, I take a step back and admire my work. It’s always satisfying to see the transformation from the original piece to the finished product. I’ve found that taking the time to properly care for your flipped item can make all the difference in how long it lasts and how well it looks.
💰 Budget Build
A low-cost, no-frills approach that focuses on function and basic restoration without sacrificing quality.
⏰ Weekend Version
A quick, easy-to-complete project that can be done over a single weekend with minimal time and effort.
✨ Upgraded Finish
A more detailed version with premium materials and advanced techniques for a high-end look.
🛋️ Small-Space Adaptation
Tailored for small spaces with compact, multi-functional pieces that maximize space and style.
🔒 Rental-Safe Option
A version that avoids permanent changes, allowing you to flip without damaging the rental property.
| The mistake | Why it happens | The fix |
|---|---|---|
| Skipping the cleaning step before restoration. | Cleaning is essential to remove dust, grime, and hidden damage before applying any new finishes. | Always clean the piece thoroughly before starting any restoration work. |
| Using the wrong type of paint or stain. | Using the wrong product can lead to poor adhesion, peeling, or uneven finishes. | Choose the right type of paint or stain based on the material you're working with. |
| Ignoring hidden damage in the piece. | Hidden damage like rot, rust, or broken springs can cause the piece to fail later on. | Inspect the piece carefully before starting the project and note any issues you find. |
| Overlooking the importance of sanding. | Skipping the sanding step can lead to a poor finish and make the new paint or stain not adhere properly. | Always sand the surface before applying any new paint or stain. |
Related: Thrift flip makeovers step checklist
Related: Simple thrift flip makeovers step by step techniques
Thrift Flip Makeovers Step Guide
Related: Budget thrift flip makeovers step by step techniques
Related: Budget thrift flip makeovers step
Common Questions
How long does a typical thrift flip take?
What tools do I need for a thrift flip?
Can I flip items that are completely broken?
What if I don't know how to paint or stain?
References
- Makeover culture: landscapes of cosmetic surgery - Academia.edu (academia.edu)
- Looking Good, Feeling Good, Doing Good? (asset.library.wisc.edu)
- Horizontal Networks and Social Equity in Three Cultural Districts (aura.antioch.edu)
- 1 STUDY SESSION MEMORANDUM TO - City of Boulder (bouldercolorado.gov)
Cite this guide
CurbFound (2026). Thrift Flip Makeovers Step Guide. https://curbfound.com/thrift-flip-makeovers-step-guide/
Feel free to cite or share this guide.